6: Filter tasks
In this step, you will filter your tasks by status and show the number of pending tasks.
6.1: ReactiveDict
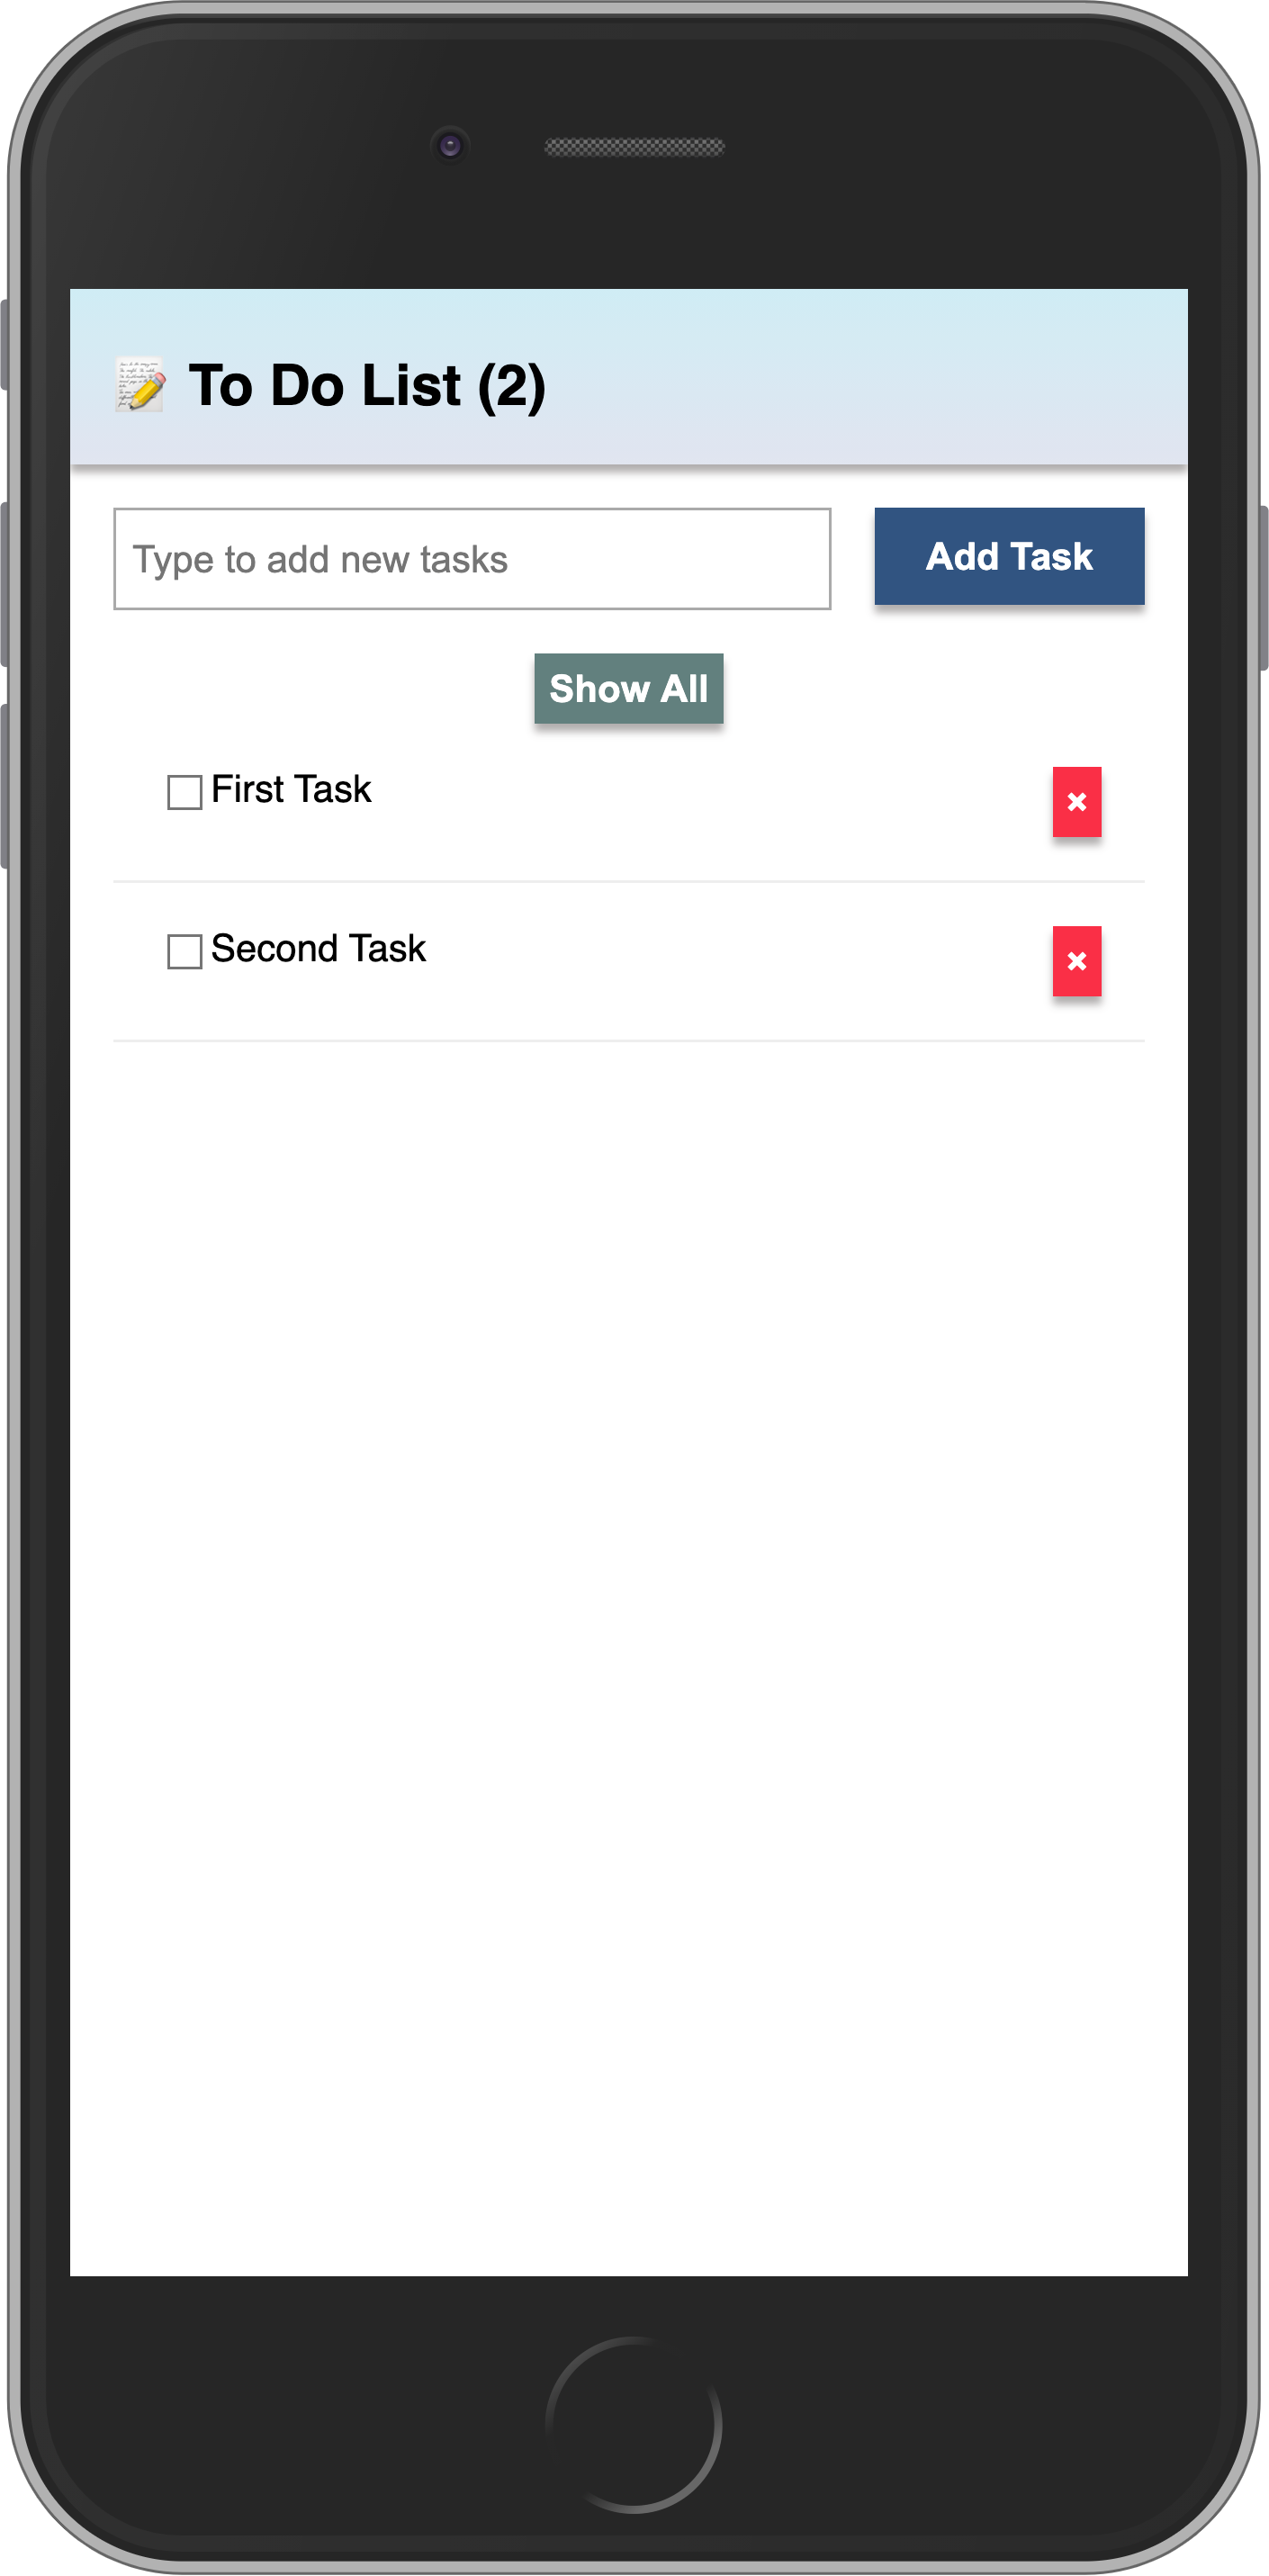
First, you will add a button to show or hide the completed tasks from the list.
To keep the state, we will use the ReactiveDict, a reactive dictionary which enables us to store an arbitrary set of key-value pairs. Use it to manage the internal state in your components, i.e. the currently selected item in a list. To know more about how ReactiveDict works, you can click on this link, and there you will find everything you need to know and everything you can do with it.
We need to install the reactive-dict package in our app. Simply run the command below on your app root directory:
meteor add reactive-dict
Next, we need to set up a new ReactiveDict and attach it to the mainContainer template instance (as this is where we’ll store the button’s state) when it is first created. The best place to create our variables is inside the callback onCreated of the template that we want to persist our data. This callback is called as soon as the template renders on the screen:
imports/ui/App.js
import { Template } from 'meteor/templating';
import { TasksCollection } from "../api/TasksCollection";
import { ReactiveDict } from 'meteor/reactive-dict';

import './App.html';
import './Task.js';


Template.mainContainer.onCreated(function mainContainerOnCreated() {
  this.state = new ReactiveDict();
});

...
Then, we need an event handler to update the ReactiveDict variable when the button is clicked. An event handler takes two arguments, the second of which is the same template instance in the onCreated callback. Also, create a new constant called HIDE_COMPLETED_STRING below the imports, that will be used throughout the code as the name of the variable we are persisting:
imports/ui/App.js
...

const HIDE_COMPLETED_STRING = "hideCompleted";

...

Template.mainContainer.events({
  "click #hide-completed-button"(event, instance) {
    const currentHideCompleted = instance.state.get(HIDE_COMPLETED_STRING);
    instance.state.set(HIDE_COMPLETED_STRING, !currentHideCompleted);
  }
});

...
The button in the UI to toggle our state will look something like this:
...

</header>

<div class="main">
    {{> form }}

    <div class="filter">
        <button id="hide-completed-button">
            {{#if hideCompleted}}
                    Show All
            {{else}}
                    Hide Completed
            {{/if}}
        </button>
    </div>
</div>

...
You may notice we’re using if (a conditional test) for the first time, and it’s pretty straightforward. You can learn more about the conditional test, if, here. We’re also using a helper called hideCompleted that we didn’t create yet, but we will shortly.
6.2: Button style
You should add some style to your button so it doesn’t look gray and muted. You can use the styles below as a reference:
client/main.css
.filter {
  display: flex;
  justify-content: center;
}

.filter > button {
  background-color: #62807e;
}
6.3: Filter Tasks
Now, we need to update Template.mainContainer.helpers. The code below verifies if the variable hideCompleted is set to true and if yes, we filter our query to get non completed tasks. We also have a new helper called hideCompleted that will help us in the UI where we want to know if we’re filtering or not:
imports/ui/App.js
...

Template.mainContainer.helpers({
  tasks() {
    const instance = Template.instance();
    const hideCompleted = instance.state.get(HIDE_COMPLETED_STRING);

    const hideCompletedFilter = { isChecked: { $ne: true } };

    return TasksCollection.find(hideCompleted ? hideCompletedFilter : {}, {
      sort: { createdAt: -1 },
    }).fetch();
  },
  hideCompleted() {
    return Template.instance().state.get(HIDE_COMPLETED_STRING);
  },
});

...
6.4: Meteor Dev Tools Extension
You can install an extension to visualize the data in your Mini Mongo.
Meteor DevTools Evolved will help you to debug your app as you can see what data is on Mini Mongo.
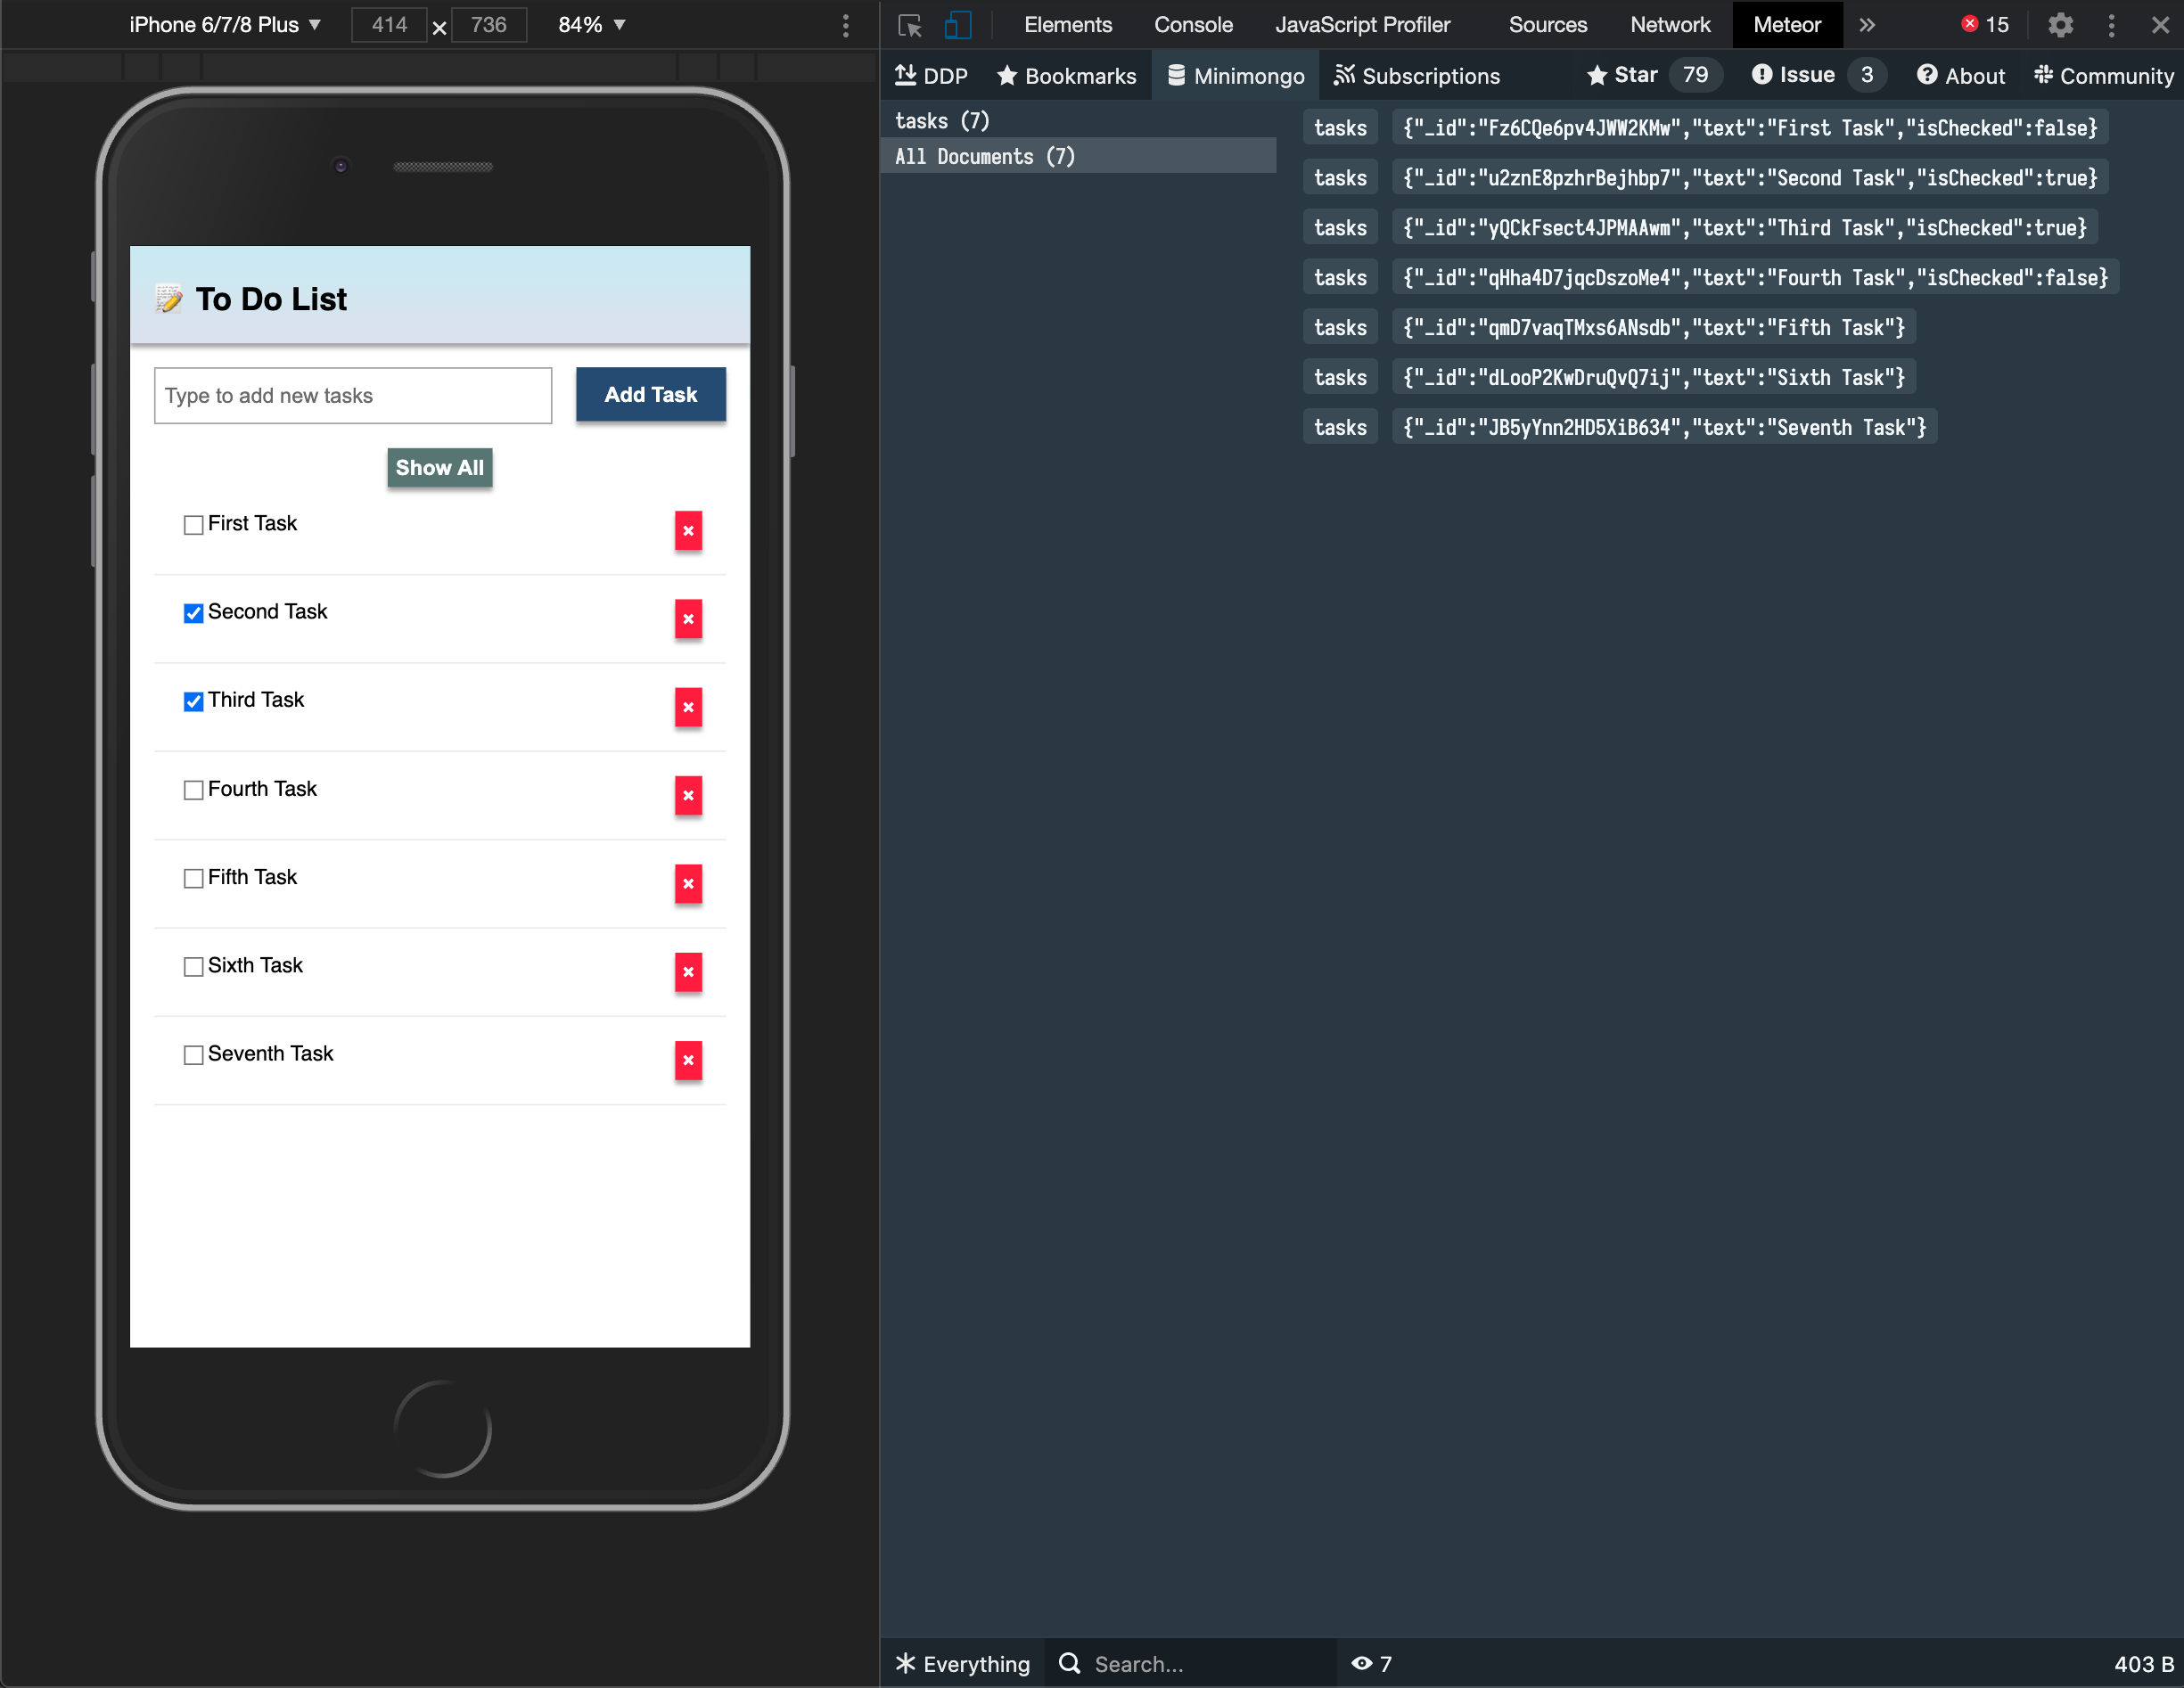
You can also see all the messages Meteor sends and receives from the server. This is useful for you to learn more about how Meteor works.

Install it in your Google Chrome / Brave browser using this link.
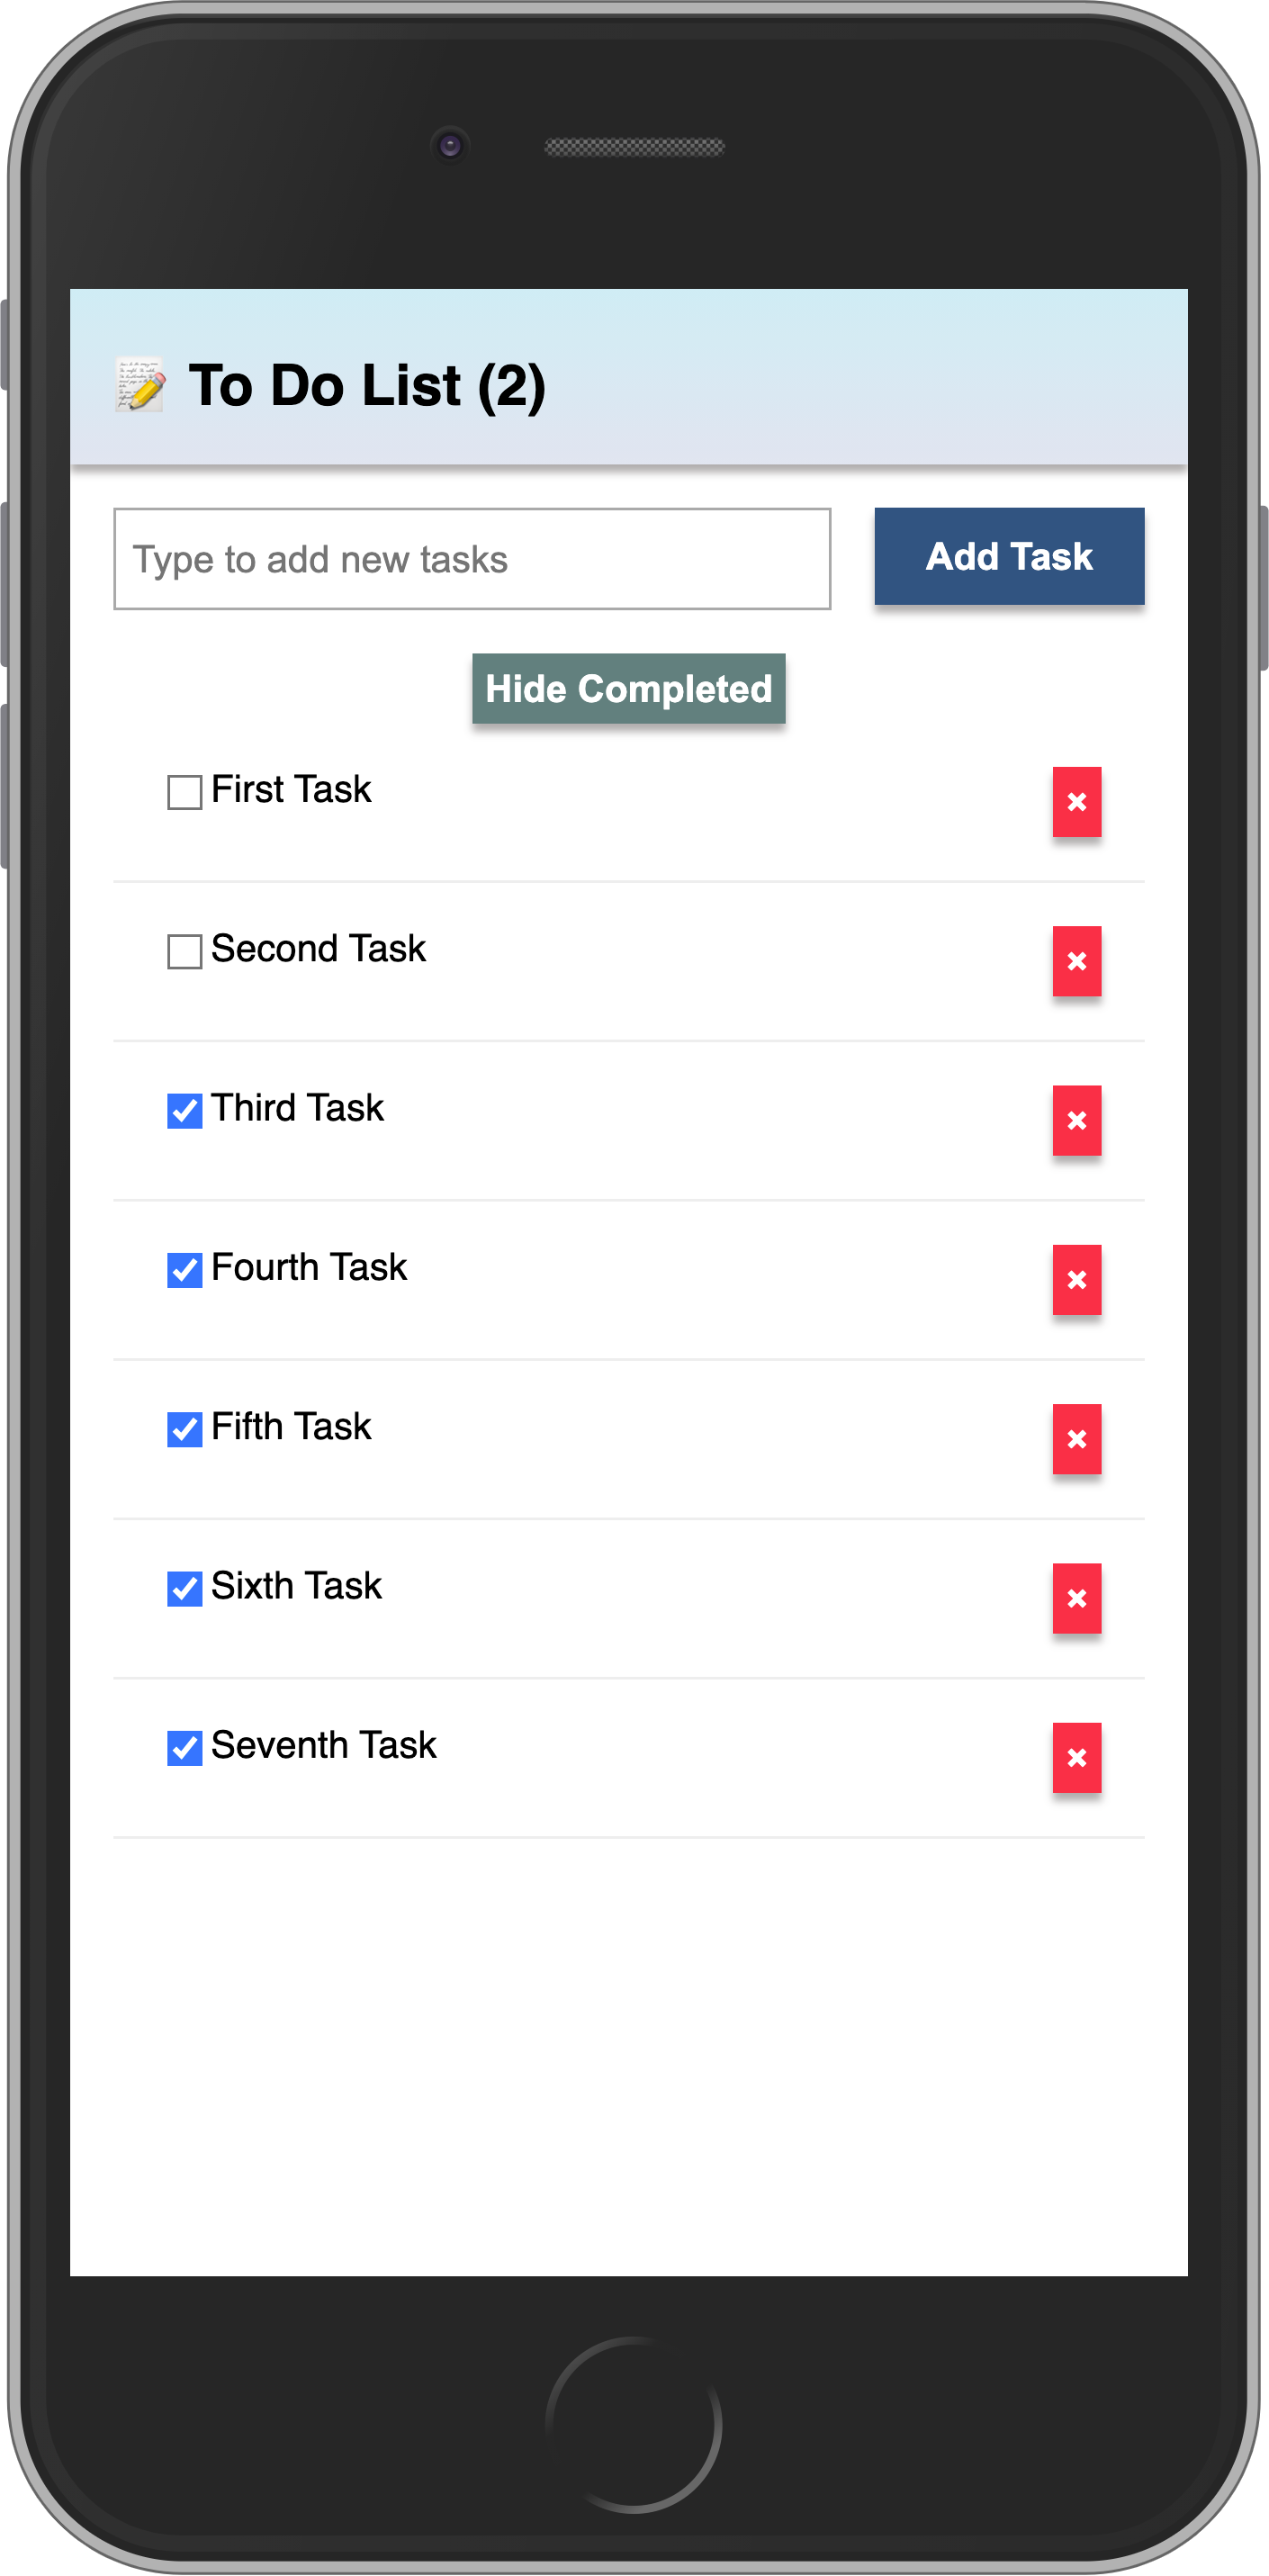
6.5: Pending tasks
Update the header to show the number of pending tasks in the app bar.
You should avoid adding zero to your app bar when there are no pending tasks.
imports/ui/App.js
...

Template.mainContainer.helpers({
  ...,
  incompleteCount() {
    const incompleteTasksCount = TasksCollection.find({ isChecked: { $ne: true } }).count();
    return incompleteTasksCount ? `(${incompleteTasksCount})` : '';
  },
});

...
imports/ui/App.html
<template name="mainContainer">
    <div class="app">
        <header>
            <div class="app-bar">
                <div class="app-header">
                    <h1>📝️ To Do List {{incompleteCount}}</h1>
                </div>
            </div>
        </header>

...
Your app should look like this:
Review: you can check how your code should be in the end of this step here
In the next step, we will include user access in your app.